Guide for LaTeX Users
This page is a good starting point if you have used LaTeX before and want to try out Typst. We will explore the main differences between these two systems from a user perspective. Although Typst is not built upon LaTeX and has a different syntax, you will learn how to use your LaTeX skills to get a head start.
Just like LaTeX, Typst is a markup-based typesetting system: You compose your document in a text file and mark it up with commands and other syntax. Then, you use a compiler to typeset the source file into a PDF. However, Typst also differs from LaTeX in several aspects: For one, Typst uses more dedicated syntax (like you may know from Markdown) for common tasks. Typst’s commands are also more principled: They all work the same, so unlike in LaTeX, you just need to understand a few general concepts instead of learning different conventions for each package. Moreover Typst compiles faster than LaTeX: Compilation usually takes milliseconds, not seconds, so the web app and the compiler can both provide instant previews.
In the following, we will cover some of the most common questions a user switching from LaTeX will have when composing a document in Typst. If you prefer a step-by-step introduction to Typst, check out our tutorial.
Installation
You have two ways to use Typst: In our web app or by installing the compiler on your computer. When you use the web app, we provide a batteries-included collaborative editor and run Typst in your browser, no installation required.
If you choose to use Typst on your computer instead, you can download the compiler as a single, small binary which any user can run, no root privileges required. Unlike popular LaTeX distributions such as TeX Live, packages are downloaded when you first use them and then cached locally, keeping your Typst installation lean. You can use your own editor and decide where to store your files with the local compiler.
How do I create a new, empty document?
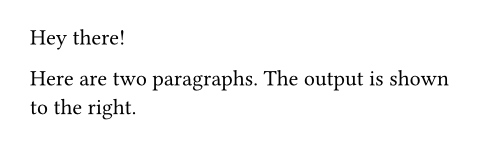
That’s easy. You just create a new, empty text file (the file extension is .typ). No boilerplate is needed to get started. Simply start by writing your text. It will be set on an empty A4-sized page. If you are using the web app, click “+ Empty document” to create a new project with a file and enter the editor. Paragraph breaks work just as they do in LaTeX, just use a blank line.
Hey there!
Here are two paragraphs. The
output is shown to the right.
If you want to start from an preexisting LaTeX document instead, you can use Pandoc to convert your source code to Typst markup. This conversion is also built into our web app, so you can upload your .tex file to start your project in Typst.
How do I create section headings, emphasis, …?
LaTeX uses the command \section to create a section heading. Nested headings are indicated with \subsection, \subsubsection, etc. Depending on your document class, there is also \part or \chapter.
In Typst, headings are less verbose: You prefix the line with the heading on it with an equals sign and a space to get a first-order heading: = Introduction. If you need a second-order heading, you use two equals signs: == In this paper. You can nest headings as deeply as you’d like by adding more equals signs.
Emphasis (usually rendered as italic text) is expressed by enclosing text in _underscores_ and strong emphasis (usually rendered in boldface) by using *stars* instead.
Here is a list of common markup commands used in LaTeX and their Typst equivalents. You can also check out the full syntax cheat sheet.
| Element | LaTeX | Typst | See |
|---|---|---|---|
| Strong emphasis | \textbf{strong} | *strong* | strong |
| Emphasis | \emph{emphasis} | _emphasis_ | emph |
| Link | \url{https://typst.app} | https://typst.app/ | link |
| Label | \label{intro} | <intro> | label |
| Reference | \ref{intro} | @intro | ref |
| Citation | \cite{humphrey97} | @humphrey97 | cite |
| Monospace (typewriter) | \texttt{mono} | text or mono functions | text, mono |
| Code | lstlisting environment | `print(f"{x}")` | raw |
| Verbatim | verbatim environment | `#typst-code()` | raw |
| Bullet list | itemize environment | - List | list |
| Numbered list | enumerate environment | + List | enum |
| Term list | description environment | / Term: List | terms |
| Figure | figure environment | figure function | figure |
| Table | table environment | table function | table |
| Equation | $x$, align / equation environments | $x$, $ x = y $ | equation |
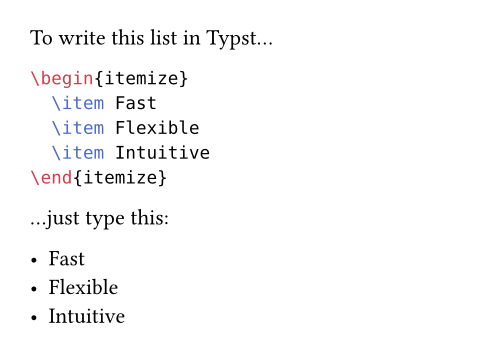
Lists do not rely on environments in Typst. Instead, they have lightweight syntax like headings. To create an unordered list (itemize), prefix each line of an item with a hyphen:
To write this list in Typst...
```latex
\begin{itemize}
\item Fast
\item Flexible
\item Intuitive
\end{itemize}
```
...just type this:
- Fast
- Flexible
- Intuitive
Nesting lists works just by using proper indentation. Adding a blank line in between items results in a more widely spaced list.
To get a numbered list (enumerate) instead, use a + instead of the hyphen. For a term list (description), write / Term: Description instead.
Note that the raw function and syntax (e.g. `raw`) only work for verbatim (unformatted) text. If you require formatting, you can use the text function with a monospace font instead, like in the example below:
#text(
font: "DejaVu Sans Mono",
size: 0.8em,
)[monospace *bold*]

How do I use a command?
LaTeX heavily relies on commands (prefixed by backslashes). It uses these macros to affect the typesetting process and to insert and manipulate content. Some commands accept arguments, which are most frequently enclosed in curly braces: \cite{rasmus}.
Typst differentiates between markup mode and code mode. The default is markup mode, where you compose text and apply syntactic constructs such as *stars for bold text*. Code mode, on the other hand, parallels programming languages like Python, providing the option to input and execute segments of code.
Within Typst’s markup, you can switch to code mode for a single command (or rather, expression) using a hash (#). This is how you call functions to, for example, split your project into different files or render text based on some condition. Within code mode, it is possible to include normal markup content by using square brackets. Within code mode, this content is treated just as any other normal value for a variable.
First, a rectangle:
#rect()
Let me show how to do
#underline([_underlined_ text])
We can also do some maths:
#calc.max(3, 2 * 4)
And finally a little loop:
#for x in range(3) [
Hi #x.
]
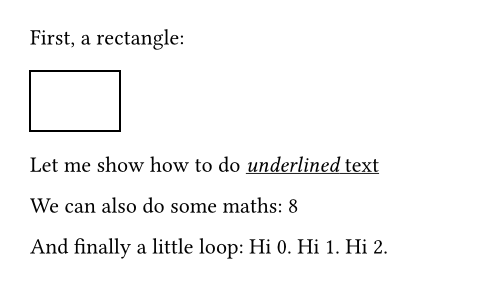
A function call always involves the name of the function (rect, underline, calc.max, range) followed by parentheses (as opposed to LaTeX where the square brackets and curly braces are optional if the macro requires no arguments). The expected list of arguments passed within those parentheses depends on the concrete function and is specified in the reference.
Arguments
A function can have multiple arguments. Some arguments are positional, i.e., you just provide the value: The function #lower("SCREAM") returns its argument in all-lowercase. Many functions use named arguments instead of positional arguments to increase legibility. For example, the dimensions and stroke of a rectangle are defined with named arguments:
#rect(
width: 2cm,
height: 1cm,
stroke: red,
)

You specify a named argument by first entering its name (above, it’s width, height, and stroke), then a colon, followed by the value (2cm, 1cm, red). You can find the available named arguments in the reference page for each function or in the autocomplete panel when typing. Named arguments are similar to how some LaTeX environments are configured, for example, you would type \begin{enumerate}[label={\alph*)}] to start a list with the labels a), b), and so on.
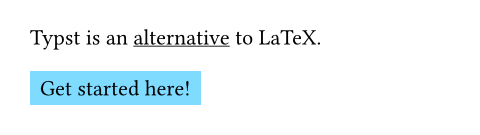
Often, you want to provide some content to a function. For example, the LaTeX command \underline{Alternative A} would translate to #underline([Alternative A]) in Typst. The square brackets indicate that a value is content. Within these brackets, you can use normal markup. However, that’s a lot of parentheses for a pretty simple construct. This is why you can also move trailing content arguments after the parentheses (and omit the parentheses if they would end up empty).
Typst is an #underline[alternative]
to LaTeX.
#rect(fill: aqua)[Get started here!]
Data types
You likely already noticed that the arguments have distinctive data types. Typst supports many data types. Below, there is a table with some of the most important ones and how to write them. In order to specify values of any of these types, you have to be in code mode!
| Data type | Example |
|---|---|
| Content | [*fast* typesetting] |
| String | "Pietro S. Author" |
| Integer | 23 |
| Floating point number | 1.459 |
| Absolute length | 12pt, 5in, 0.3cm, … |
| Relative length | 65% |
The difference between content and string is that content can contain markup, including function calls, while a string really is just a plain sequence of characters.
Typst provides control flow constructs and operators such as + for adding things or == for checking equality between two variables.
You can also store values, including functions, in your own variables. This can be useful to perform computations on them, create reusable automations, or reference a value multiple times. The variable binding is accomplished with the let keyword, which works similar to \newcommand:
// Store the integer `5`.
#let five = 5
// Define a function that
// increments a value.
#let inc(i) = i + 1
// Reference the variables.
I have #five fingers.
If I had one more, I'd have
#inc(five) fingers. Whoa!
Commands to affect the remaining document
In LaTeX, some commands like \textbf{bold text} receive an argument in curly braces and only affect that argument. Other commands such as \bfseries bold text act as switches (LaTeX calls this a declaration), altering the appearance of all subsequent content within the document or current scope.
In Typst, the same function can be used both to affect the appearance for the remainder of the document, a block (or scope), or just its arguments. For example, #text(weight: "bold")[bold text] will only embolden its argument, while #set text(weight: "bold") will embolden any text until the end of the current block, or the end of the document, if there is none. The effects of a function are immediately obvious based on whether it is used in a call or a set rule.
I am starting out with small text.
#set text(14pt)
This is a bit #text(18pt)[larger,]
don't you think?
Set rules may appear anywhere in the document. They can be thought of as default argument values of their respective function:
#set enum(numbering: "I.")
Good results can only be obtained by
+ following best practices
+ being aware of current results
of other researchers
+ checking the data for biases
The + is syntactic sugar (think of it as an abbreviation) for a call to the enum function, to which we apply a set rule above. Most syntax is linked to a function in this way. If you need to style an element beyond what its arguments enable, you can completely redefine its appearance with a show rule (somewhat comparable to \renewcommand).
You can achieve the effects of LaTeX commands like \textbf, \textsf, \rmfamily, \mdseries, and \itshape with the font, style, and weight arguments of the text function. The text function can be used in a set rule (declaration style) or with a content argument. To replace \textsc, you can use the smallcaps function, which renders its content argument as smallcaps. Should you want to use it declaration style (like \scshape), you can use an everything show rule that applies the function to the rest of the scope:
#show: smallcaps
Boisterous Accusations

How do I load a document class?
In LaTeX, you start your main .tex file with the \documentclass{article} command to define how your document is supposed to look. In that command, you may have replaced article with another value such as report and amsart to select a different look.
When using Typst, you style your documents with functions. Typically, you use a template that provides a function that styles your whole document. First, you import the function from a template file. Then, you apply it to your whole document. This is accomplished with a show rule that wraps the following document in a given function. The following example illustrates how it works:
#import "conf.typ": conf
#show: conf.with(
title: [
Towards Improved Modelling
],
authors: (
(
name: "Theresa Tungsten",
affiliation: "Artos Institute",
email: "tung@artos.edu",
),
(
name: "Eugene Deklan",
affiliation: "Honduras State",
email: "e.deklan@hstate.hn",
),
),
abstract: lorem(80),
)
Let's get started writing this
article by putting insightful
paragraphs right here!
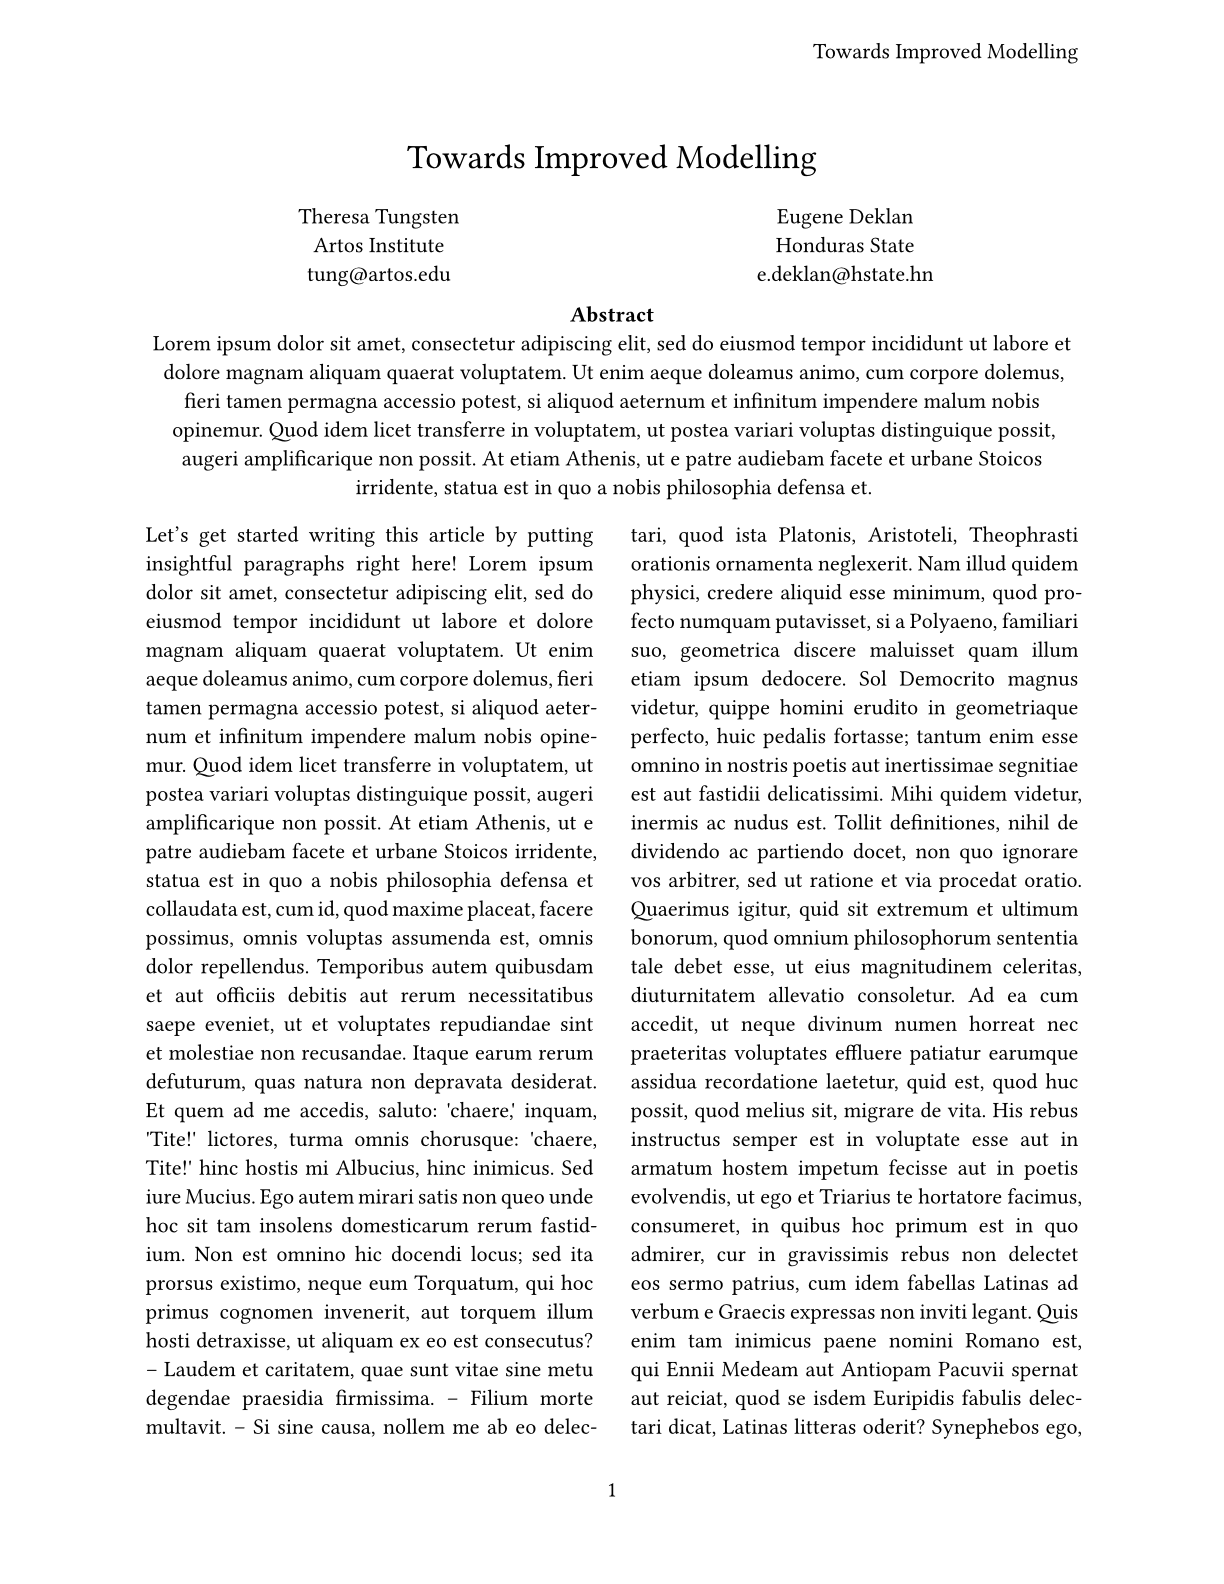
The import statement makes functions (and other definitions) from another file available. In this example, it imports the conf function from the conf.typ file. This function formats a document as a conference article. We use a show rule to apply it to the document and also configure some metadata of the article. After applying the show rule, we can start writing our article right away!
You can also use templates from Typst Universe (which is Typst’s equivalent of CTAN) using an import statement like this: #import "@preview/elsearticle:0.2.1": elsearticle. Check the documentation of an individual template to learn the name of its template function. Templates and packages from Typst Universe are automatically downloaded when you first use them.
In the web app, you can choose to create a project from a template on Typst Universe or even create your own using the template wizard. Locally, you can use the typst init CLI to create a new project from a template. Check out the list of templates published on Typst Universe. You can also take a look at the awesome-typst repository to find community templates that aren’t available through Universe.
You can also create your own, custom templates. They are shorter and more readable than the corresponding LaTeX .sty files by orders of magnitude, so give it a try!
Functions are Typst’s “commands” and can transform their arguments to an output value, including document content. Functions are “pure”, which means that they cannot have any effects beyond creating an output value / output content. This is in stark contrast to LaTeX macros that can have arbitrary effects on your document.
To let a function style your whole document, the show rule processes everything that comes after it and calls the function specified after the colon with the result as an argument. The .with part is a method that takes the conf function and pre-configures some of its arguments before passing it on to the show rule.
How do I load packages?
Typst is “batteries included,” so the equivalent of many popular LaTeX packages is built right-in. Below, we compiled a table with frequently loaded packages and their corresponding Typst functions.
| LaTeX Package | Typst Alternative |
|---|---|
| graphicx, svg | image function |
| tabularx, tabularray | table, grid functions |
| fontenc, inputenc, unicode-math | Just start writing! |
| babel, polyglossia | text function: #set text(lang: "zh") |
| amsmath | Math mode |
| amsfonts, amssymb | sym module and syntax |
| geometry, fancyhdr | page function |
| xcolor | text function: #set text(fill: rgb("#0178A4")) |
| hyperref | link function |
| bibtex, biblatex, natbib | cite, bibliography functions |
| lstlisting, minted | raw function and syntax |
| parskip | block and par functions |
| csquotes | Set the text language and type " or ' |
| caption | figure function |
| enumitem | list, enum, terms functions |
| nicefrac | frac.style property |
Although many things are built-in, not everything can be. That’s why Typst has its own package ecosystem where the community share its creations and automations. Let’s take, for instance, the CeTZ package: This package allows you to create complex drawings and plots. To use CeTZ in your document, you can just write:
#import "@preview/cetz:0.4.1"(The @preview is a namespace that is used while the package manager is still in its early and experimental state. It will be replaced in the future.)
Aside from the official package hub, you might also want to check out the awesome-typst repository, which compiles a curated list of resources created for Typst.
If you need to load functions and variables from another file within your project, for example to use a template, you can use the same import statement with a file name rather than a package specification. To instead include the textual content of another file, you can use an include statement. It will retrieve the content of the specified file and put it in your document.
How do I input maths?
To enter math mode in Typst, just enclose your equation in dollar signs. You can enter display mode by adding spaces or newlines between the equation’s contents and its enclosing dollar signs.
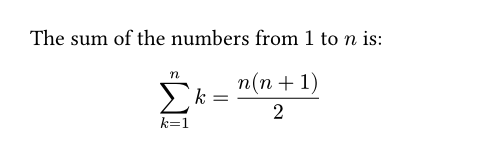
The sum of the numbers from
$1$ to $n$ is:
$ sum_(k=1)^n k = (n(n+1))/2 $
Math mode works differently than regular markup or code mode. Numbers and single characters are displayed verbatim, while multiple consecutive (non-number) characters will be interpreted as Typst variables.
Typst pre-defines a lot of useful variables in math mode. All Greek (alpha, beta, …) and some Hebrew letters (aleph, beth, …) are available through their name. Some symbols are additionally available through shorthands, such as <=, >=, and ->.
Refer to the symbol pages for a full list of the symbols. If a symbol is missing, you can also access it through a Unicode escape sequence.
Alternate and related forms of symbols can often be selected by appending a modifier after a period. For example, arrow.l.squiggly inserts a squiggly left-pointing arrow. If you want to insert multiletter text in your expression instead, enclose it in double quotes:
$ delta "if" x <= 5 $

In Typst, delimiters will scale automatically for their expressions, just as if \left and \right commands were implicitly inserted in LaTeX. You can customize delimiter behaviour using the lr function. To prevent a pair of delimiters from scaling, you can escape them with backslashes.
Typst will automatically set terms around a slash / as a fraction while honoring operator precedence. All round parentheses not made redundant by the fraction will appear in the output. Fractions are typeset vertically unless customized with frac.style. You can also produce a slash as is by escaping it with a backslash (\/).
$ f(x) = (x + 1) / x $

Sub- and superscripts work similarly in Typst and LaTeX. $x^2$ will produce a superscript, $x_2$ yields a subscript. If you want to include more than one value in a sub- or superscript, enclose their contents in parentheses: $x_(a -> epsilon)$.
Since variables in math mode do not need to be prepended with a # (or a \ like in LaTeX), you can also call functions without these special characters:
$ f(x, y) := cases(
1 "if" (x dot y)/2 <= 0,
2 "if" x "is even",
3 "if" x in NN,
4 "else",
) $
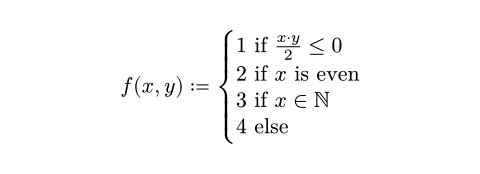
The above example uses the cases function to describe f. Within the cases function, arguments are delimited using commas and the arguments are also interpreted as math. If you need to interpret arguments as Typst values instead, prefix them with a #:
$ (a + b)^2
= a^2
+ text(fill: #maroon, 2 a b)
+ b^2 $

You can use all Typst functions within math mode and insert any content. If you want them to work normally, with code mode in the argument list, you can prefix their call with a #. Nobody can stop you from using rectangles or emoji as your variables anymore:
$ sum^10_(🤓=1)
#rect(width: 4mm, height: 2mm)/🤓
= 🧠 maltese $

If you’d like to enter your mathematical symbols directly as Unicode, that is possible, too!
Math calls can have two-dimensional argument lists using ; as a delimiter. The most common use for this is the mat function that creates matrices:
$ mat(
1, 2, ..., 10;
2, 2, ..., 10;
dots.v, dots.v, dots.down, dots.v;
10, 10, ..., 10;
) $

How do I get the “LaTeX look?”
Papers set in LaTeX have an unmistakeable look. This is mostly due to their font, Computer Modern, justification, narrow line spacing, and wide margins.
The example below
- sets wide margins
- enables justification, tighter lines and first-line-indent
- sets the font to “New Computer Modern”, an OpenType derivative of Computer Modern for both text and code blocks
- decreases the font weight in math mode
- disables paragraph spacing
- increases spacing around headings
#set page(margin: 1.75in)
#set par(leading: 0.55em, spacing: 0.55em, first-line-indent: 1.8em, justify: true)
#set text(font: "New Computer Modern")
#show raw: set text(font: "New Computer Modern Mono")
#show math.equation: set text(weight: "regular")
#show heading: set block(above: 1.4em, below: 1em)
This should be a good starting point! If you want to go further, why not create a reusable template?
Bibliographies
Typst includes a fully-featured bibliography system that is compatible with BibTeX files. You can continue to use your .bib literature libraries by loading them with the bibliography function. Another possibility is to use Typst’s YAML-based native format.
Typst uses the Citation Style Language to define and process citation and bibliography styles. You can compare CSL files to BibLaTeX’s .bbx files. The compiler already includes over 80 citation styles, but you can use any CSL-compliant style from the CSL repository or write your own.
You can cite an entry in your bibliography or reference a label in your document with the same syntax: @key (this would reference an entry called key). Alternatively, you can use the cite function.
Alternative forms for your citation, such as year only and citations for natural use in prose (cf. \citet and \textcite) are available with #cite(<key>, form: "prose").
You can find more information on the documentation page of the bibliography function.
What limitations does Typst currently have compared to LaTeX?
Although Typst can be a LaTeX replacement for many today, there are still features that Typst does not (yet) support. Here is a list of them which, where applicable, contains possible workarounds.
Well-established plotting ecosystem. LaTeX users often create elaborate charts along with their documents in PGF/TikZ. The Typst ecosystem does not yet offer the same breadth of available options, but the ecosystem around the
cetzpackage is catching up quickly.Change page margins without a pagebreak. In LaTeX, margins can always be adjusted, even without a pagebreak. To change margins in Typst, you use the
pagefunction which will force a page break. If you just want a few paragraphs to stretch into the margins, then reverting to the old margins, you can use thepadfunction with negative padding.