Formatting
So far, you have written a report with some text, a few equations and images. However, it still looks very plain. Your teaching assistant does not yet know that you are using a new typesetting system, and you want your report to fit in with the other student's submissions. In this chapter, we will see how to format your report using Typst's styling system.
Set rules
As we have seen in the previous chapter, Typst has functions that insert content (e.g. the image function) and others that manipulate content that they received as arguments (e.g. the align function). The first impulse you might have when you want, for example, to justify the report, could be to look for a function that does that and wrap the complete document in it.
#par(justify: true)[
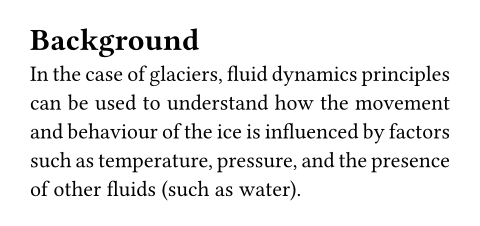
= Background
In the case of glaciers, fluid
dynamics principles can be used
to understand how the movement
and behaviour of the ice is
influenced by factors such as
temperature, pressure, and the
presence of other fluids (such as
water).
]

Wait, shouldn't all arguments of a function be specified within parentheses? Why is there a second set of square brackets with content after the parentheses? The answer is that, as passing content to a function is such a common thing to do in Typst, there is special syntax for it: Instead of putting the content inside of the argument list, you can write it in square brackets directly after the normal arguments, saving on punctuation.
As seen above, that works. The par function justifies all paragraphs within it. However, wrapping the document in countless functions and applying styles selectively and in-situ can quickly become cumbersome.
Fortunately, Typst has a more elegant solution. With set rules, you can apply style properties to all occurrences of some kind of content. You write a set rule by entering the set keyword, followed by the name of the function whose properties you want to set, and a list of arguments in parentheses.
#set par(justify: true)

= Background
In the case of glaciers, fluid
dynamics principles can be used
to understand how the movement
and behaviour of the ice is
influenced by factors such as
temperature, pressure, and the
presence of other fluids (such as
water).
Want to know in more technical terms what is happening here?
Set rules can be conceptualized as setting default values for some of the parameters of a function for all future uses of that function.
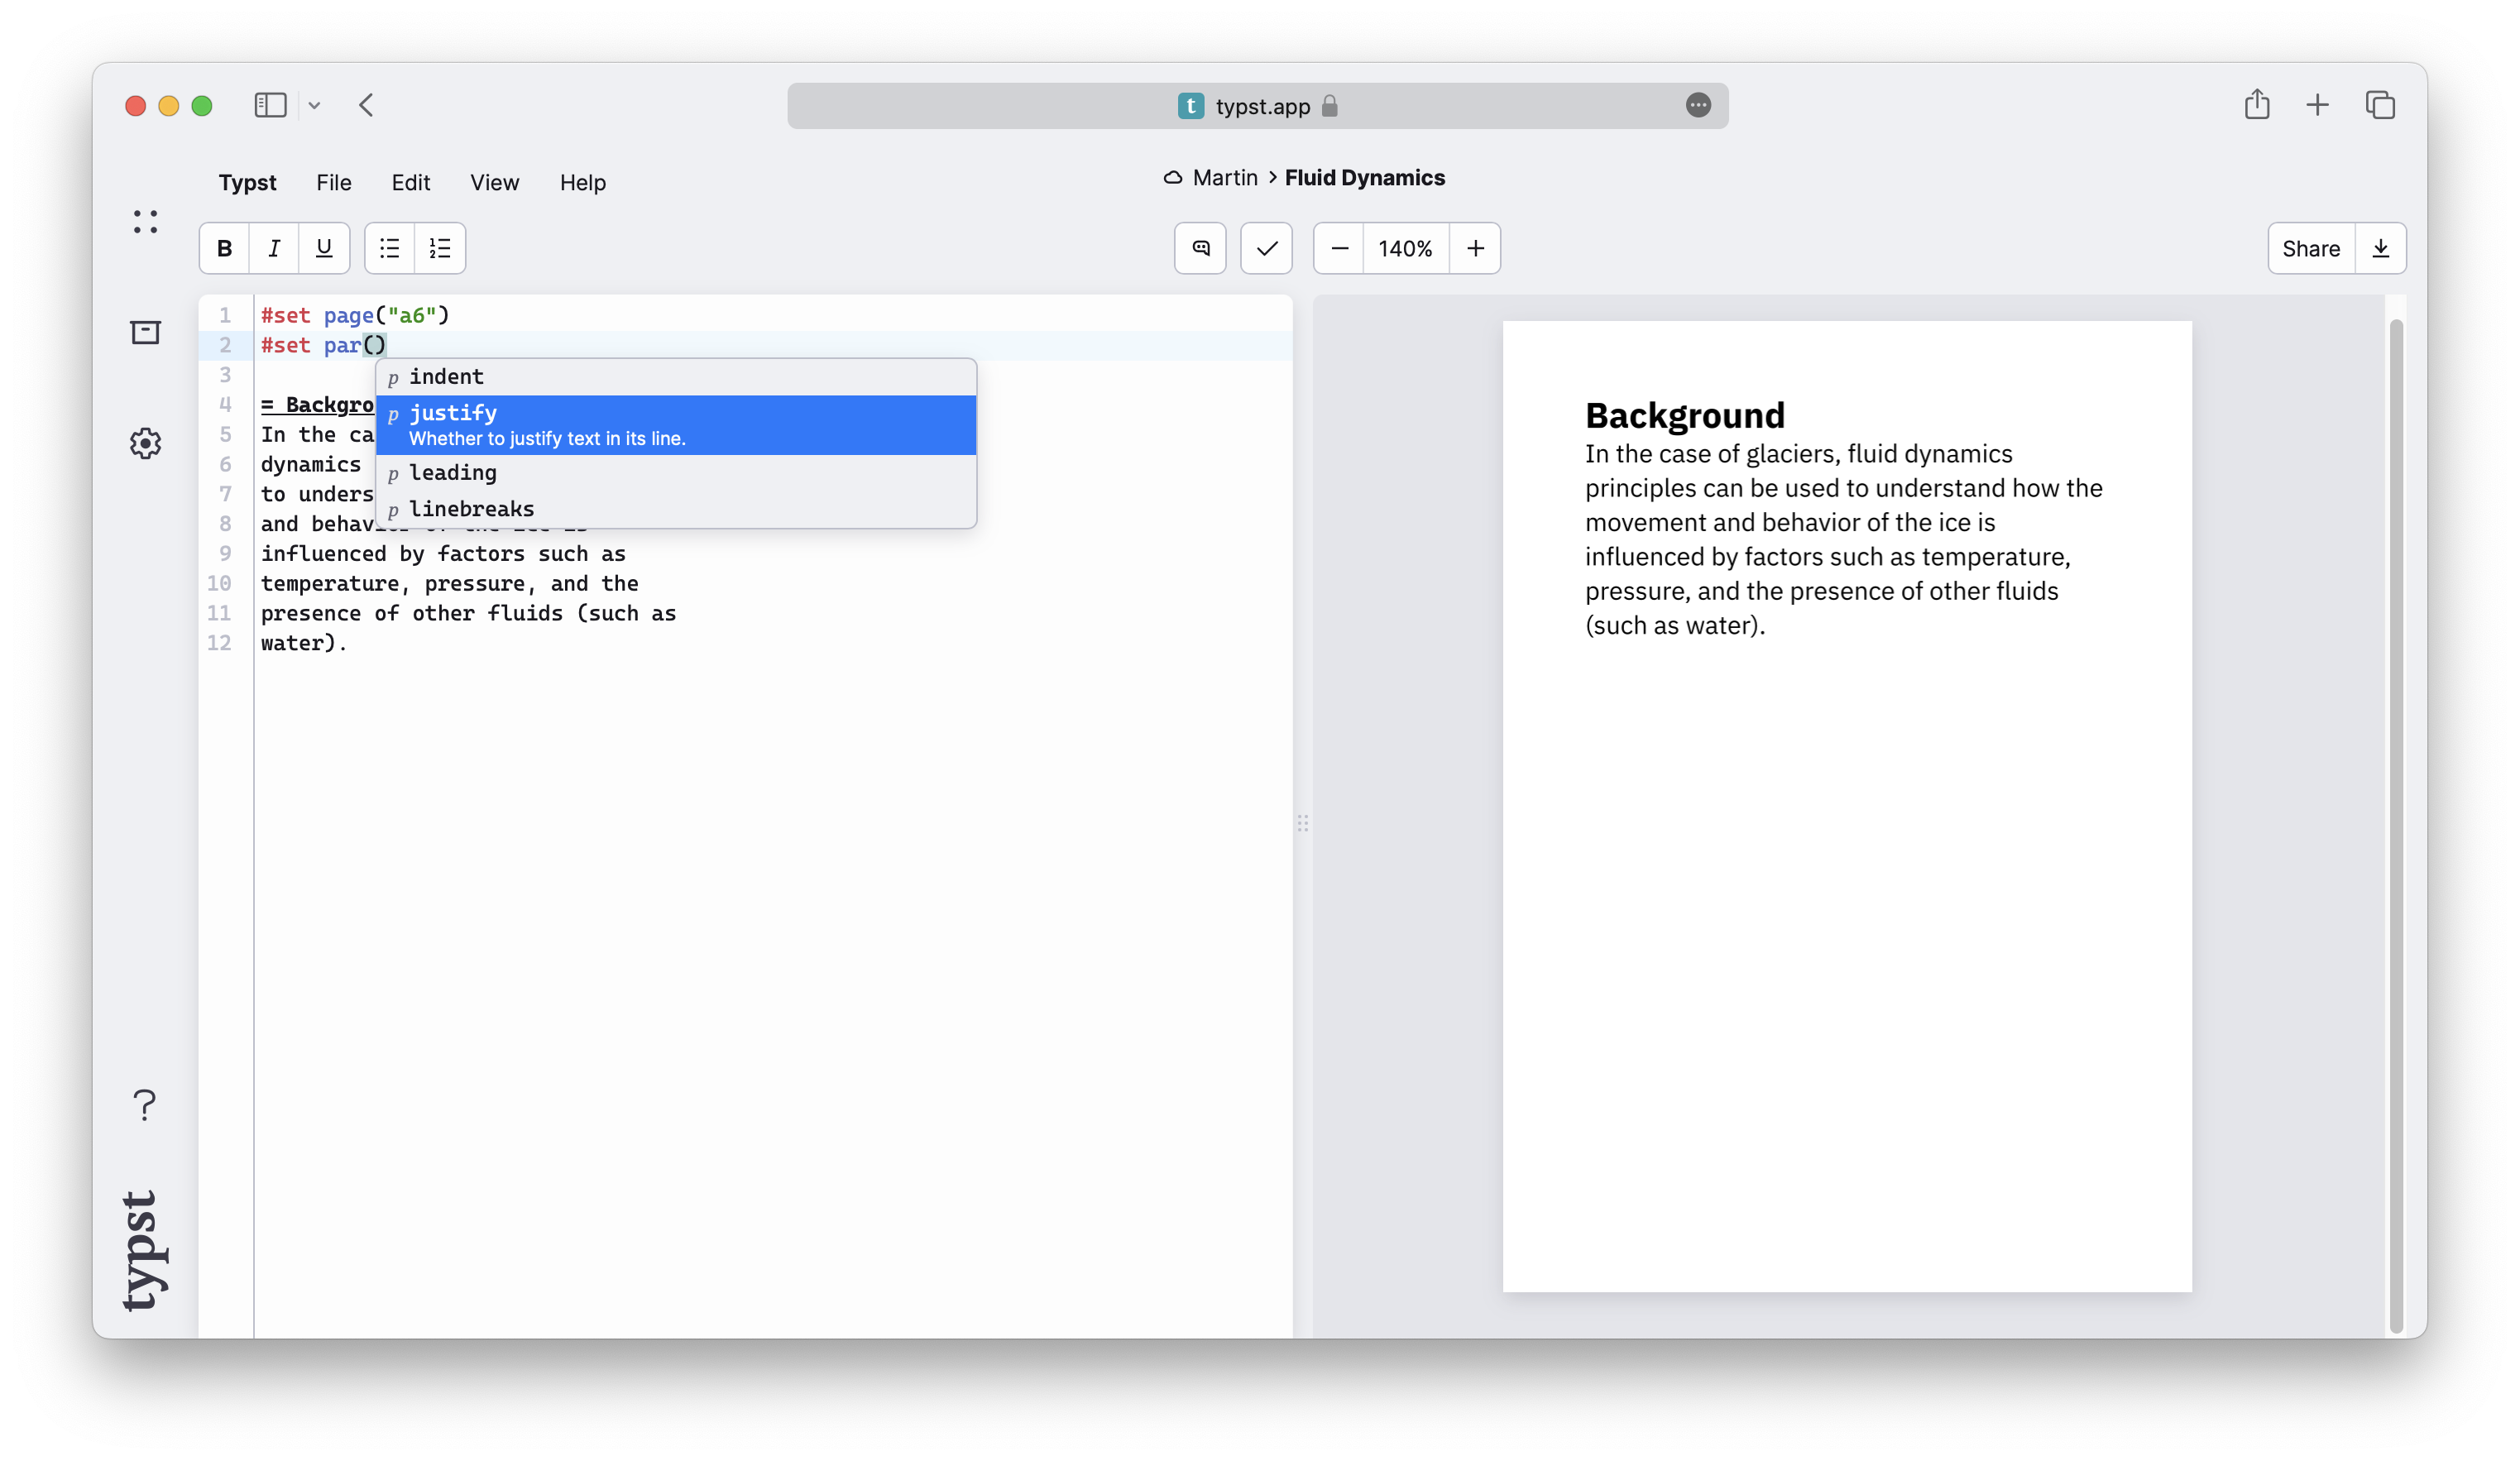
The autocomplete panel
If you followed along and tried a few things in the app, you might have noticed that always after you enter a # character, a panel pops up to show you the available functions, and, within an argument list, the available parameters. That's the autocomplete panel. It can be very useful while you are writing your document: You can apply its suggestions by hitting the Return key or navigate to the desired completion with the arrow keys. The panel can be dismissed by hitting the Escape key and opened again by typing # or hitting Ctrl + Space. Use the autocomplete panel to discover the right arguments for functions. Most suggestions come with a small description of what they do.
Set up the page
Back to set rules: When writing a rule, you choose the function depending on what type of element you want to style. Here is a list of some functions that are commonly used in set rules:
textto set font family, size, color, and other properties of textpageto set the page size, margins, headers, enable columns, and footersparto justify paragraphs, set line spacing, and moreheadingto set the appearance of headings and enable numberingdocumentto set the metadata contained in the PDF output, such as title and author
Not all function parameters can be set. In general, only parameters that tell a function how to do something can be set, not those that tell it what to do it with. The function reference pages indicate which parameters are settable.
Let's add a few more styles to our document. We want larger margins and a serif font. For the purposes of the example, we'll also set another page size.
#set text(
font: "New Computer Modern",
size: 10pt
)
#set page(
paper: "a6",
margin: (x: 1.8cm, y: 1.5cm),
)
#set par(
justify: true,
leading: 0.52em,
)
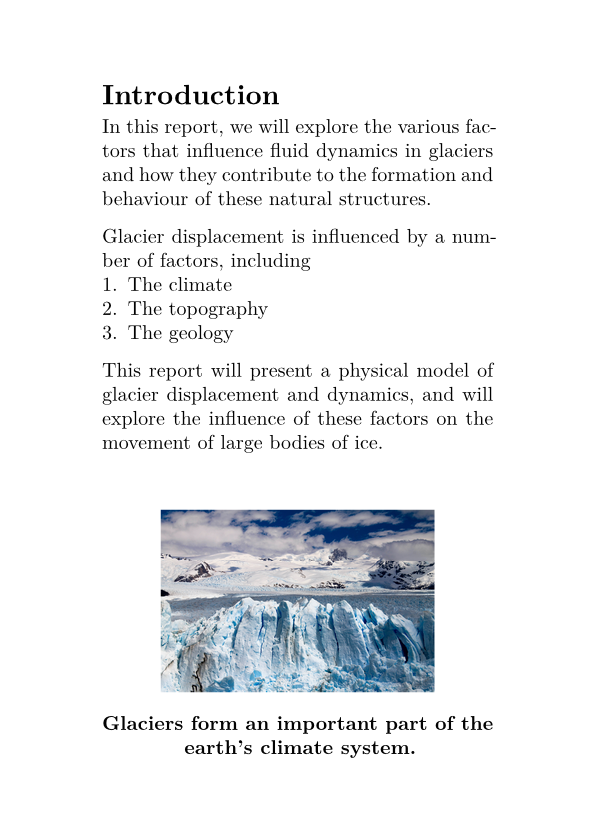
= Introduction
In this report, we will explore the
various factors that influence fluid
dynamics in glaciers and how they
contribute to the formation and
behaviour of these natural structures.
...
#align(center + bottom)[
#image("glacier.jpg", width: 70%)
*Glaciers form an important
part of the earth's climate
system.*
]
There are a few things of note here.
First is the page set rule. It receives two arguments: the page size and margins for the page. The page size is a string. Typst accepts many standard page sizes, but you can also specify a custom page size. The margins are specified as a dictionary. Dictionaries are a collection of key-value pairs. In this case, the keys are x and y, and the values are the horizontal and vertical margins, respectively. We could also have specified separate margins for each side by passing a dictionary with the keys left, right, top, and bottom.
Next is the set text set rule. Here, we set the font size to 10pt and font family to "New Computer Modern". The Typst app comes with many fonts that you can try for your document. When you are in the text function's argument list, you can discover the available fonts in the autocomplete panel.
We have also set the spacing between lines (a.k.a. leading): It is specified as a length value, and we used the em unit to specify the leading relative to the size of the font: 1em is equivalent to the current font size (which defaults to 11pt).
Finally, we have bottom aligned our image by adding a vertical alignment to our center alignment. Vertical and horizontal alignments can be combined with the + operator to yield a 2D alignment.
A hint of sophistication
To structure our document more clearly, we now want to number our headings. We can do this by setting the numbering parameter of the heading function.
#set heading(numbering: "1.")

= Introduction
#lorem(10)

== Background
#lorem(12)

== Methods
#lorem(15)
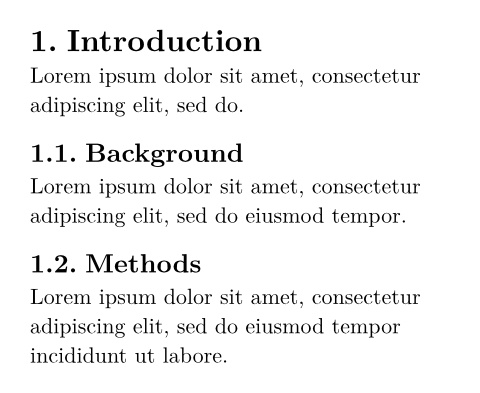
We specified the string "1." as the numbering parameter. This tells Typst to number the headings with arabic numerals and to put a dot between the number of each level. We can also use letters, roman numerals, and symbols for our headings:
#set heading(numbering: "1.a")

= Introduction
#lorem(10)

== Background
#lorem(12)

== Methods
#lorem(15)
This example also uses the lorem function to generate some placeholder text. This function takes a number as an argument and generates that many words of Lorem Ipsum text.
Did you wonder why the headings and text set rules apply to all text and headings, even if they are not produced with the respective functions?
Typst internally calls the heading function every time you write = Conclusion. In fact, the function call #heading[Conclusion] is equivalent to the heading markup above. Other markup elements work similarly, they are only syntax sugar for the corresponding function calls.
Show rules
You are already pretty happy with how this turned out. But one last thing needs to be fixed: The report you are writing is intended for a larger project and that project's name should always be accompanied by a logo, even in prose.
You consider your options. You could add an #image("logo.svg") call before every instance of the logo using search and replace. That sounds very tedious. Instead, you could maybe define a custom function that always yields the logo with its image. However, there is an even easier way:
With show rules, you can redefine how Typst displays certain elements. You specify which elements Typst should show differently and how they should look. Show rules can be applied to instances of text, many functions, and even the whole document.
#show "ArtosFlow": name => box[
  #box(image(
    "logo.svg",
    height: 0.7em,
  ))
  #name
]

This report is embedded in the
ArtosFlow project. ArtosFlow is a
project of the Artos Institute.
There is a lot of new syntax in this example: We write the show keyword, followed by a string of text we want to show differently and a colon. Then, we write a function that takes the content that shall be shown as an argument. Here, we called that argument name. We can now use the name variable in the function's body to print the ArtosFlow name. Our show rule adds the logo image in front of the name and puts the result into a box to prevent linebreaks from occurring between logo and name. The image is also put inside of a box, so that it does not appear in its own paragraph.
The calls to the first box function and the image function did not require a leading # because they were not embedded directly in markup. When Typst expects code instead of markup, the leading # is not needed to access functions, keywords, and variables. This can be observed in parameter lists, function definitions, and code blocks.
Review
You now know how to apply basic formatting to your Typst documents. You learned how to set the font, justify your paragraphs, change the page dimensions, and add numbering to your headings with set rules. You also learned how to use a basic show rule to change how text appears throughout your document.
You have handed in your report. Your supervisor was so happy with it that they want to adapt it into a conference paper! In the next section, we will learn how to format your document as a paper using more advanced show rules and functions.